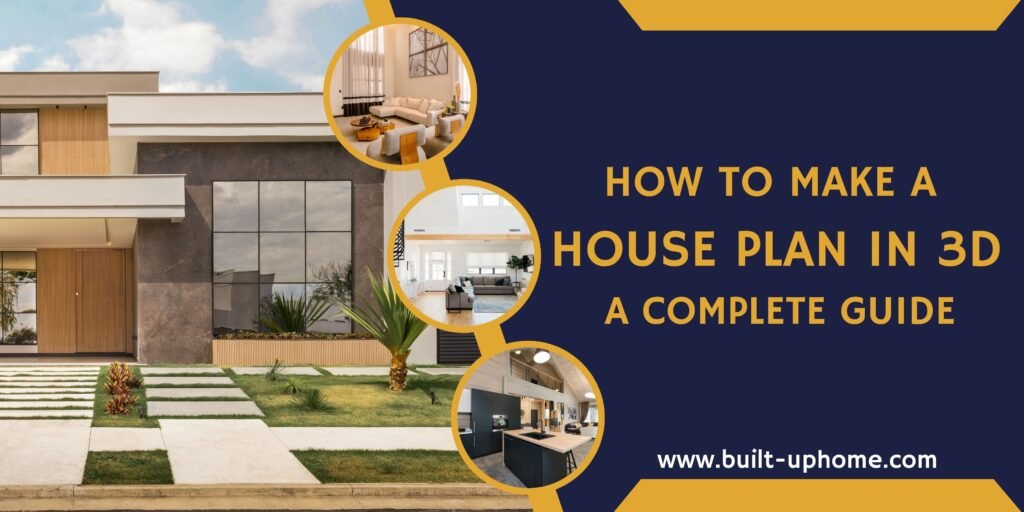
Designing a house is one of the most exciting parts of planning your dream home. And with today’s technology, you no longer need to rely solely on flat, 2D blueprints. 3D house plans allow you to visualize your space more realistically, giving you a better understanding of how everything will look and function once built. In this guide, we’ll walk you through everything you need to know to create a 3D house plan—from understanding the basics to enhancing your design like a pro.
Why 3D House Plans Are Important
3D house plans bridge the gap between imagination and reality. Unlike 2D floor plans, which can be hard to interpret, 3D plans allow you to see the design in lifelike form. This clarity helps prevent costly mistakes, speeds up decision-making, and allows for better collaboration with architects, builders, or even your family.
Benefits of Using 3D Design for House Plans
- Better Visualization: See how rooms, furniture, and lighting will look.
- Improved Accuracy: Spot design flaws before construction begins.
- Faster Revisions: Easily make changes and test new ideas.
- Enhanced Communication: Share your vision clearly with contractors and stakeholders.
What You’ll Need to Get Started
- A computer with decent processing power and graphics
- 3D design software (free or paid)
- Measurements of your plot or existing structure
- A basic idea or sketch of your desired layout
- Time and creativity!
Understanding the Basics of 3D House Plans
1 What is a 3D House Plan?
Definition of a 3D Floor Plan
A 3D house plan is a three-dimensional digital model of your home layout. It includes walls, rooms, furniture, and sometimes even landscaping—giving you a realistic view of your future space.
Difference Between 2D and 3D Plans
- 2D Plans: Flat, top-down views. Great for technical precision.
- 3D Plans: Perspective-based views. Great for visualization and walkthroughs.
2 Tools and Software for 3D House Plans
Overview of Popular 3D Design Tools
- SketchUp: Intuitive and widely used by both beginners and pros.
- AutoCAD: Powerful but more technical—great for professionals.
- Sweet Home 3D: Easy to learn, perfect for hobbyists.
- RoomSketcher: Cloud-based, with drag-and-drop features.
- Planner 5D: Beginner-friendly with mobile support.
Choosing the Right Software for Your Needs
Select a tool based on:
- Your experience level
- Desired detail and output quality
- Budget (many have free versions)
3 Learning the Key Terminology
Common 3D Design Terms to Know
- Scale: The ratio of the drawing to actual size
- Layout: The arrangement of rooms and spaces
- Elevation: A side view showing height and structure
- Render: A realistic 3D image of your plan
Understanding Blueprints and Technical Drawings
While 3D design is visually rich, understanding technical drawings (blueprints, elevations, sections) will help you communicate better with professionals.
Creating the Basic Layout of Your House Plan
1 Define Your House’s Dimensions
Measure the Area
Begin with accurate measurements—length, width, and height. This could be for an empty plot or an existing structure you plan to remodel.
Consider How Many Rooms and Floors You’ll Need
Think about:
- Number of bedrooms and bathrooms
- Floor levels (single-story or multi-level)
- Special spaces (office, gym, garage, etc.)
2 Drawing Walls and Adding Rooms
Setting Up Walls and Room Boundaries
Use your software to “draw” walls and create separate rooms. Follow standard wall thicknesses and make sure room sizes are functional.
Placing Doors and Windows
Add entry and exit points with attention to natural light and traffic flow.
3 Adding Essential Elements
Including Staircases, Hallways, and Utility Spaces
Make room for:
- Staircases (if multi-level)
- Hallways for connectivity
- Utility spaces like laundry, pantry, or HVAC closets
Understanding Room Flow and Traffic Patterns
Arrange rooms logically: bedrooms away from noisy areas, bathrooms near bedrooms, kitchen near
Enhancing Your 3D House Plan
1 Adding Furniture and Fixtures
Placing Furniture Items
Add key items like sofas, beds, desks, and dining tables to see how space is used.
Adding Kitchen, Bathroom, and Lighting Fixtures
Include:
- Cabinets, sinks, and appliances in the kitchen
- Tubs, toilets, and vanities in bathrooms
- Light fixtures to plan illumination
2 Experimenting with Materials and Textures
Choosing Wall and Floor Materials
Try out different styles like wood, tile, carpet, or concrete to match your aesthetic.
Applying Textures for Realistic Effects
Textures make your design more lifelike. Use software libraries or import your own textures.
3 Previewing and Refining Your 3D Model
Viewing Your Plan in 3D Mode
Switch to 3D view to take virtual tours of your space. Look at it from different angles and lighting conditions.
Making Adjustments for Functionality and Aesthetic Appeal
Tweak furniture placement, room sizes, or colors. Think both practically and creatively.
Bonus: Tips for a Professional Look
Professional Design Tips
- Align furniture with walls for a clean appearance
- Use symmetry where possible
- Combine open space with cozy corners
Ensuring a Logical Flow Between Rooms
Keep movement natural from room to room. Avoid dead ends and awkward transitions.
Common Mistakes to Avoid
- Overcrowding: Don’t cram too much furniture in one space
- Poor Scaling: Always match object sizes to room dimensions
- Neglecting Proportions: Oversized windows or tiny doors can look off
Conclusion
Creating a 3D house plan is both fun and practical. It lets you bring your vision to life while catching problems before they happen. By following the steps in this guide—understanding the basics, laying out your design, and adding detail—you’ll be well on your way to a realistic and functional house model.

